Specs of VM + Download Link
Version: Windows 10 Enterprise
Installation of Windows VM
Step 1: Download the zip file from the link above and unzip it.
Step 2: Double click on the OVF file and and select Import.
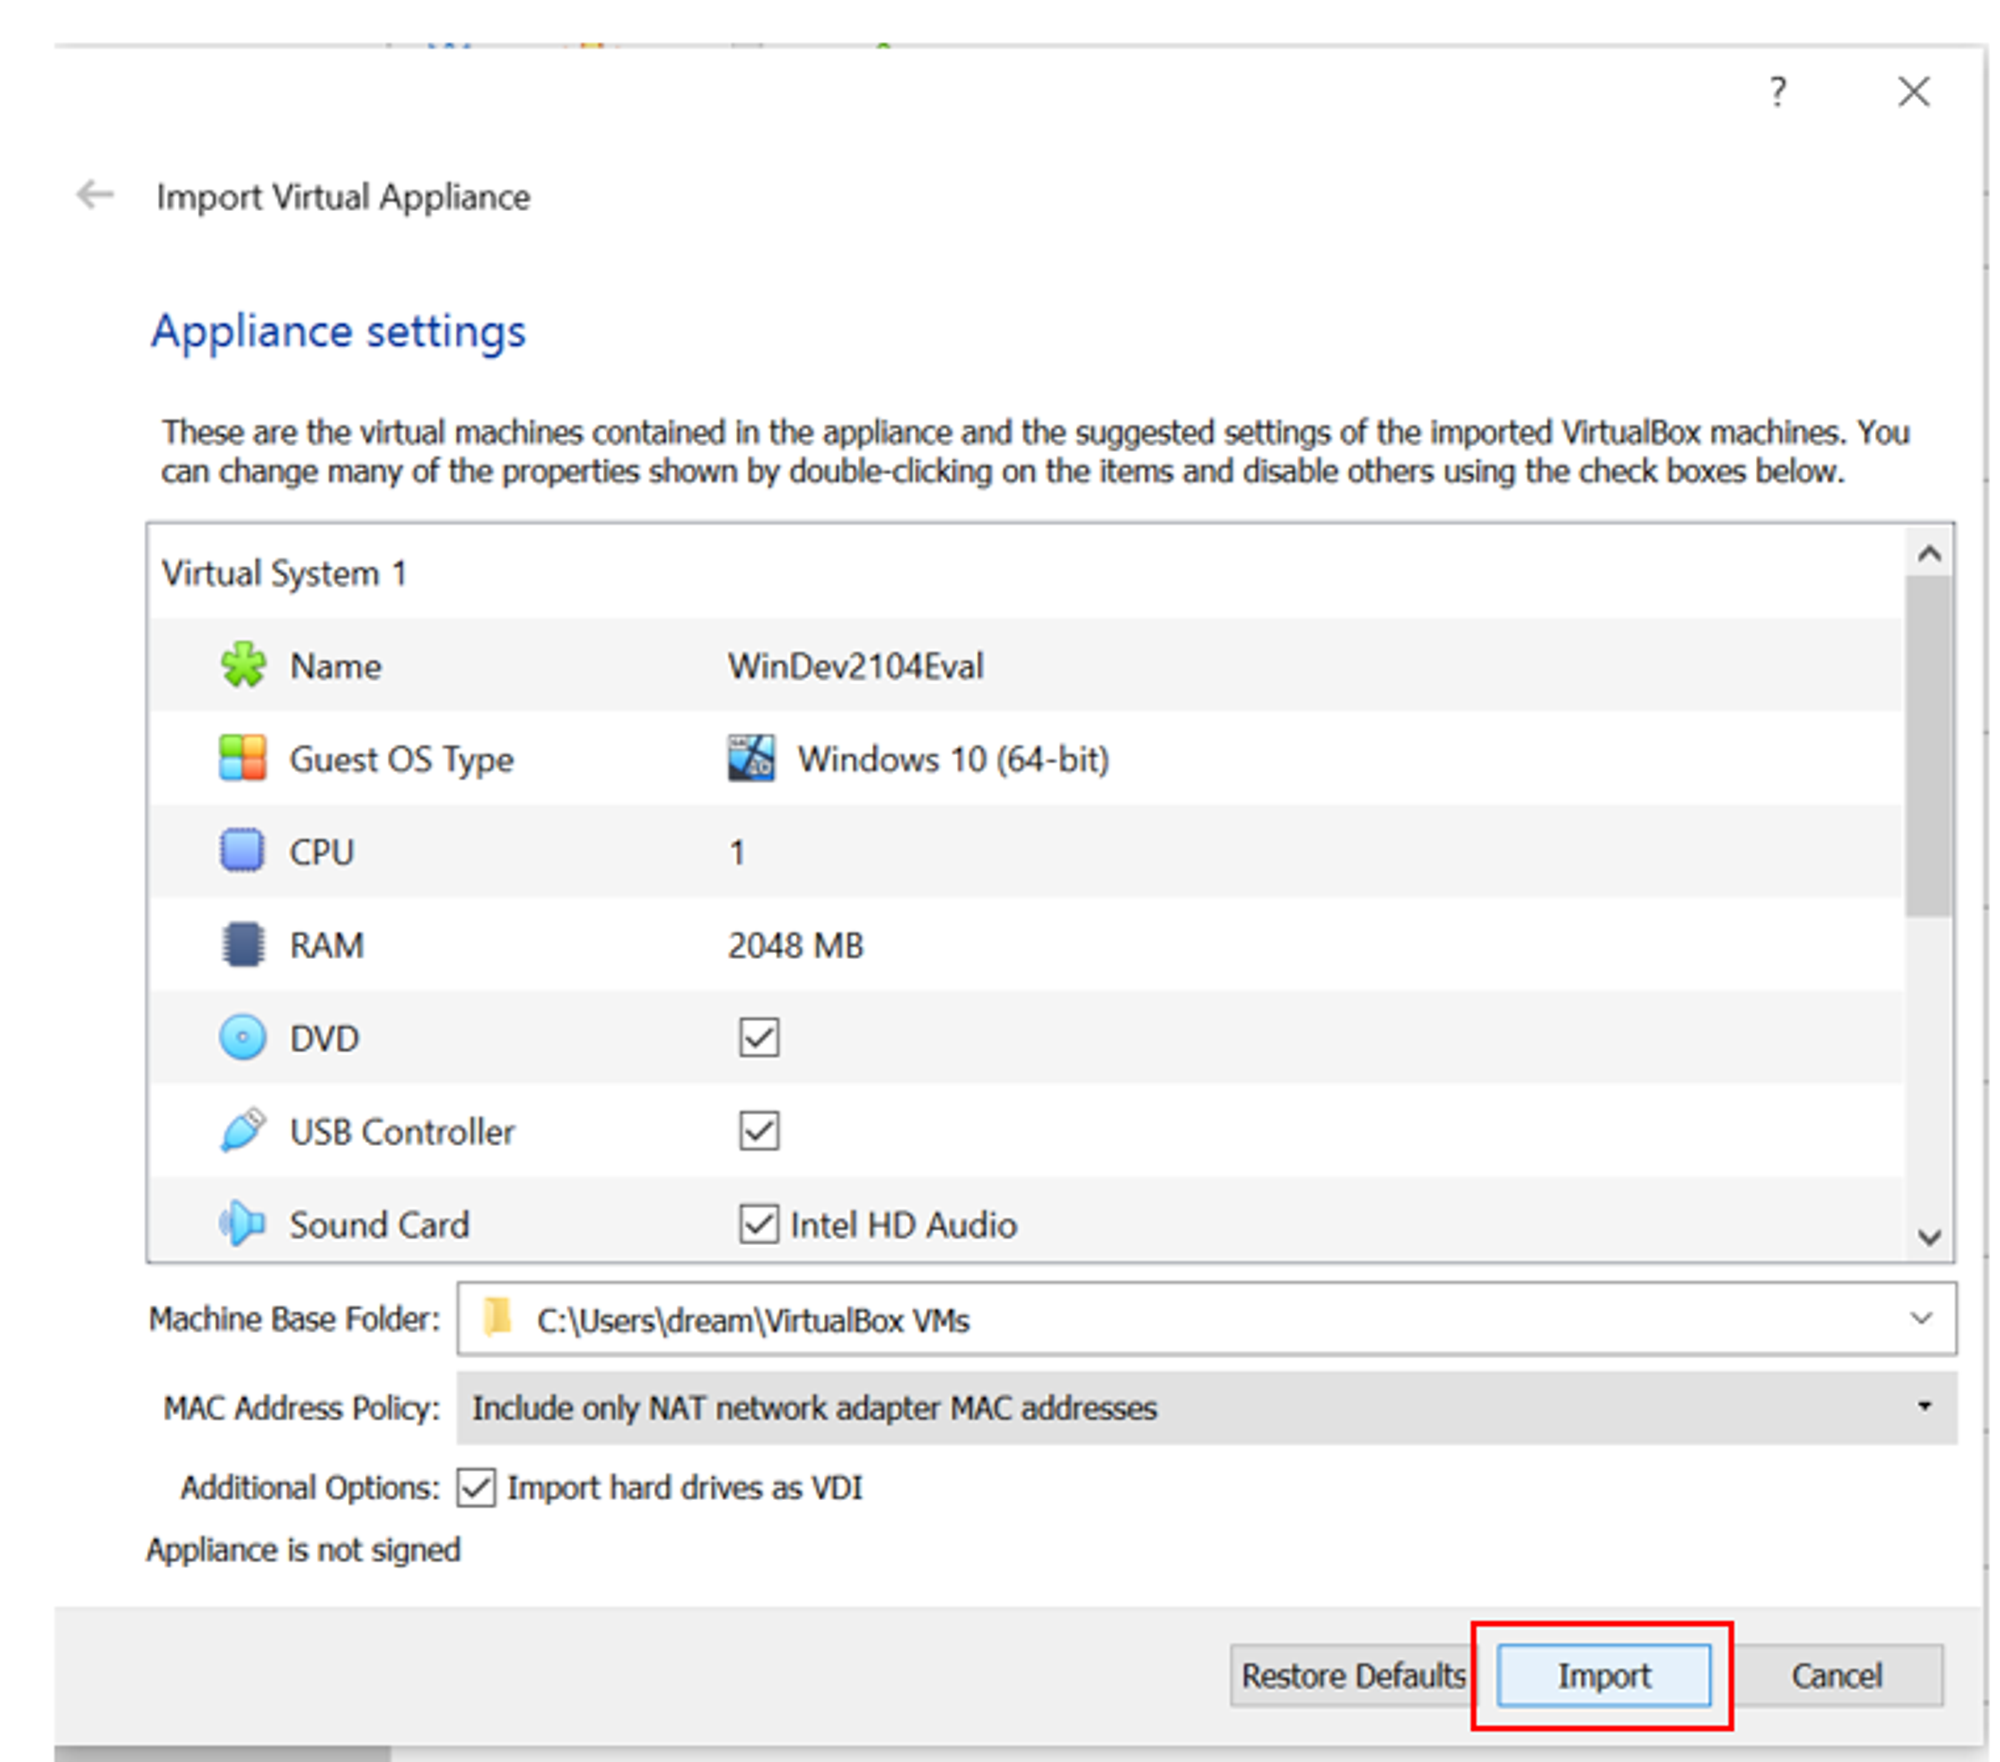
Once the import is completed, you will see your new Windows VM in VirtualBox.
*When I attempted to start the Windows VM, I encountered with an error:

Reference: https://github.com/GNS3/gns3-gui/issues/3032
Solution: Turn off Windows feature "Virtual Machine Platform" and reboot PC.
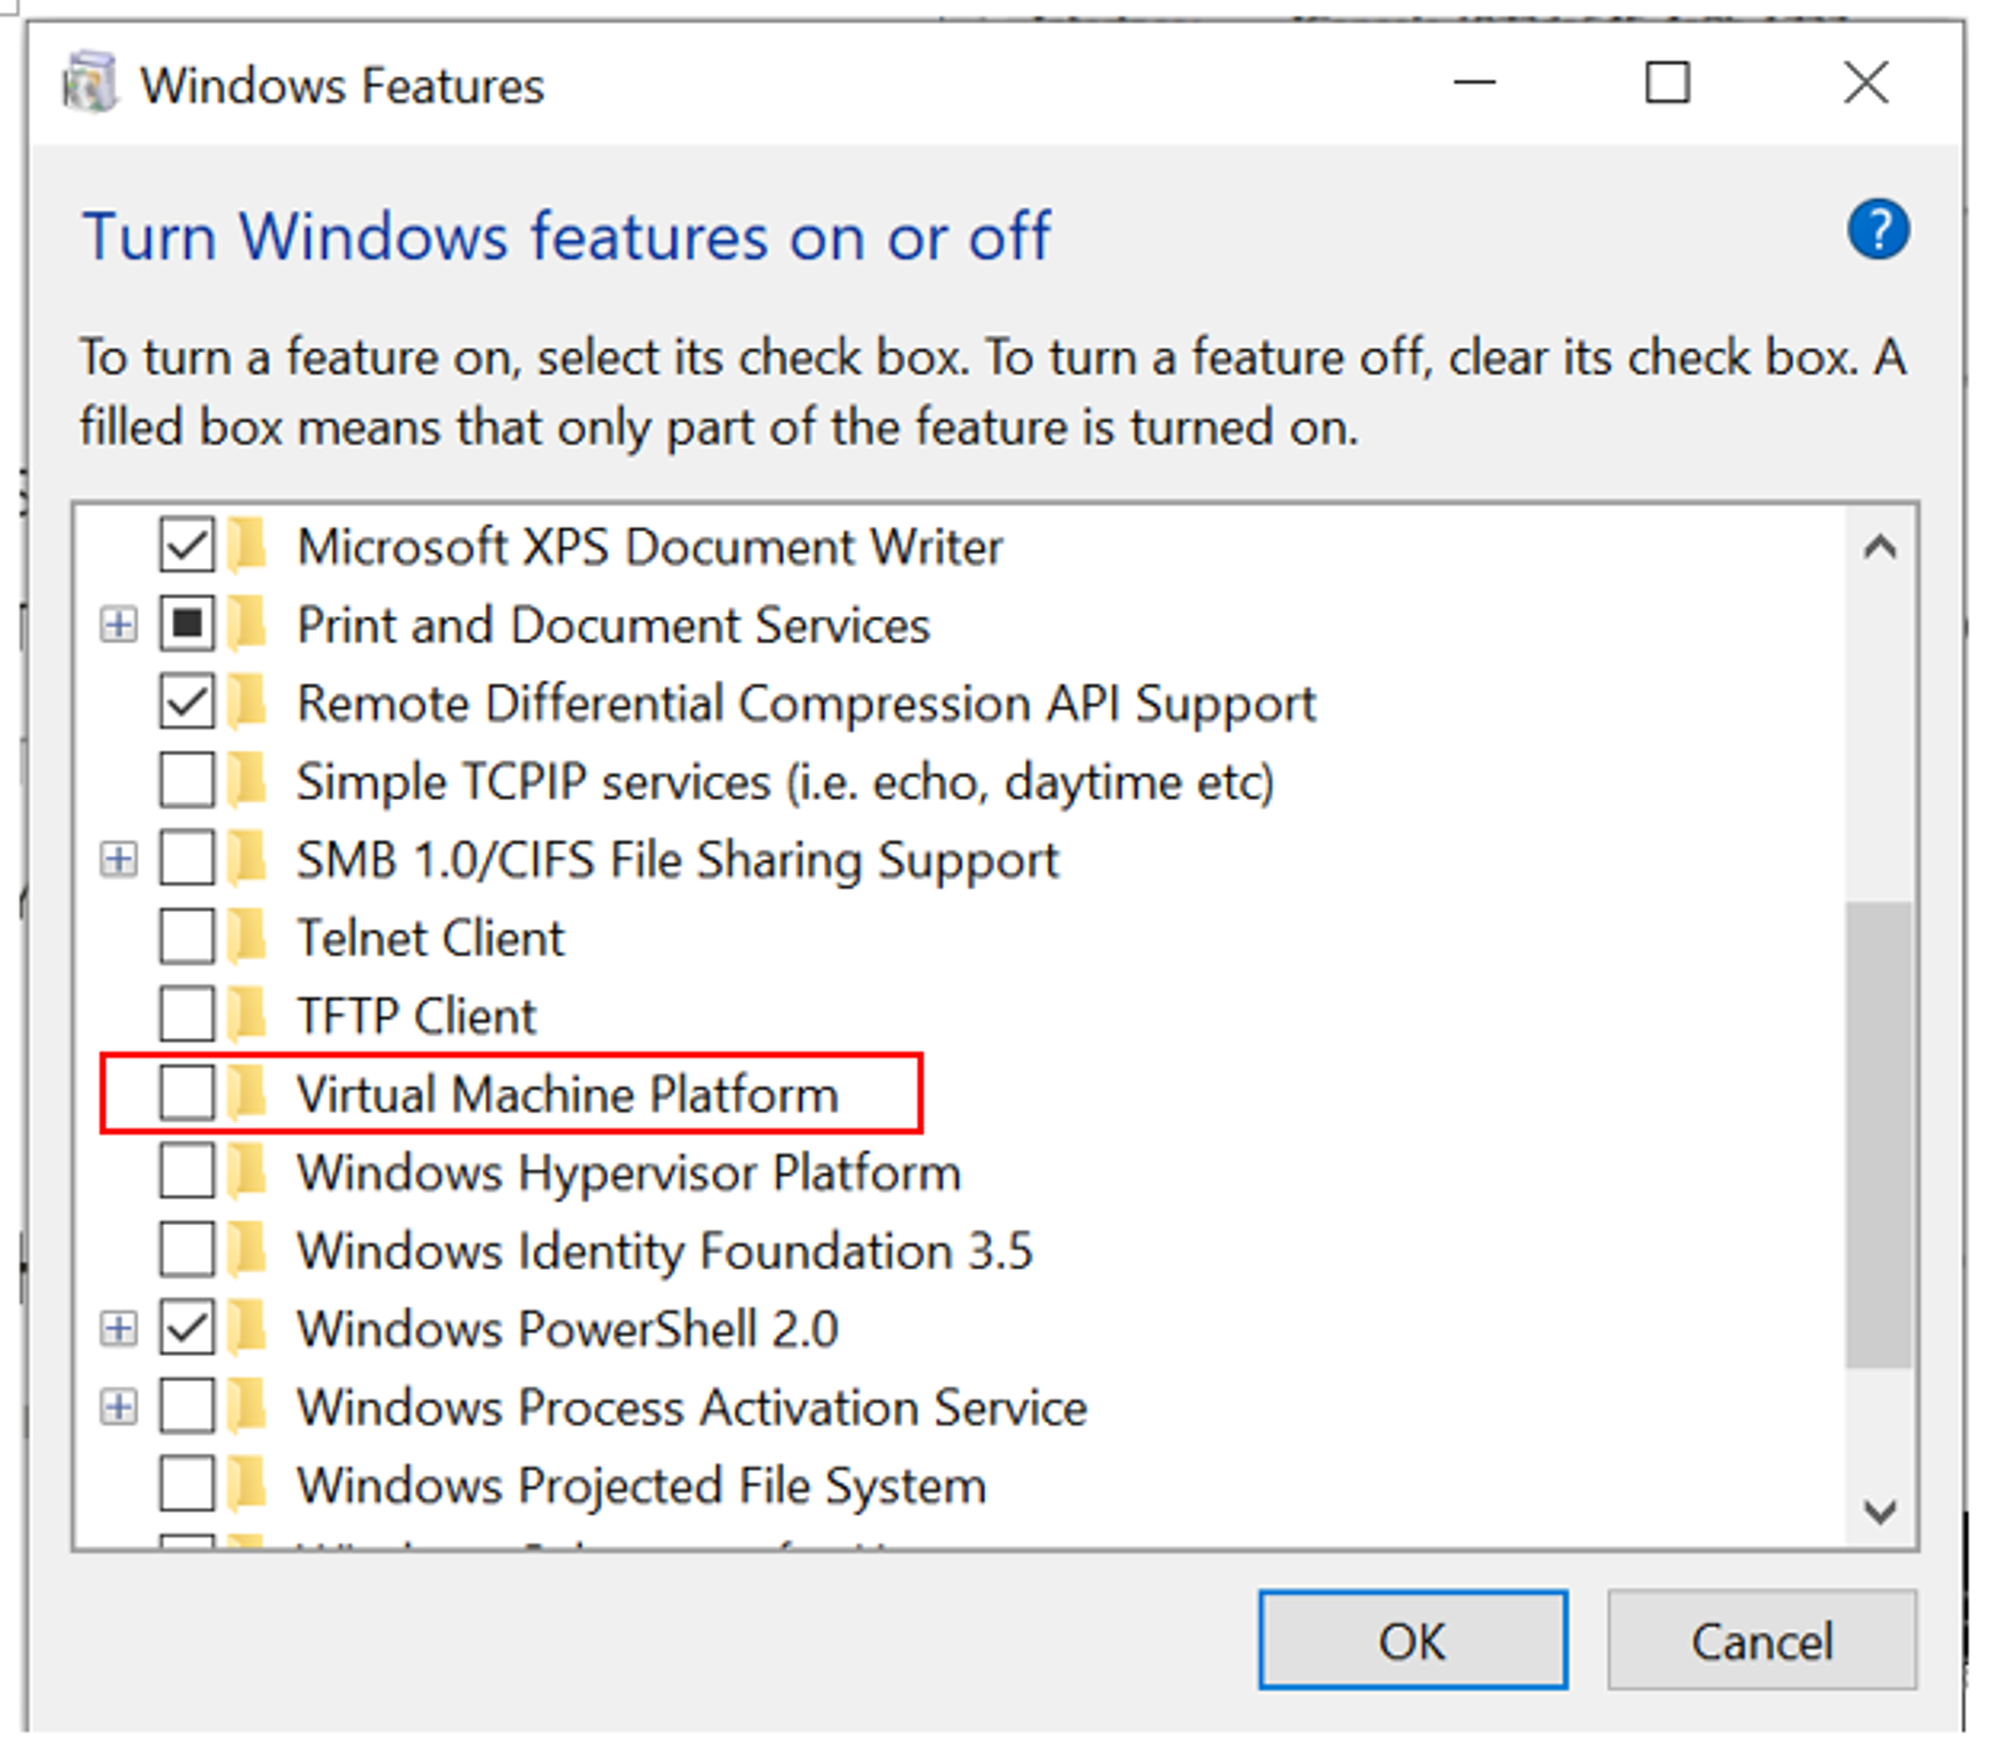
You should now be able to start the Windows VM.
How to allow the VMs to talk to each other?
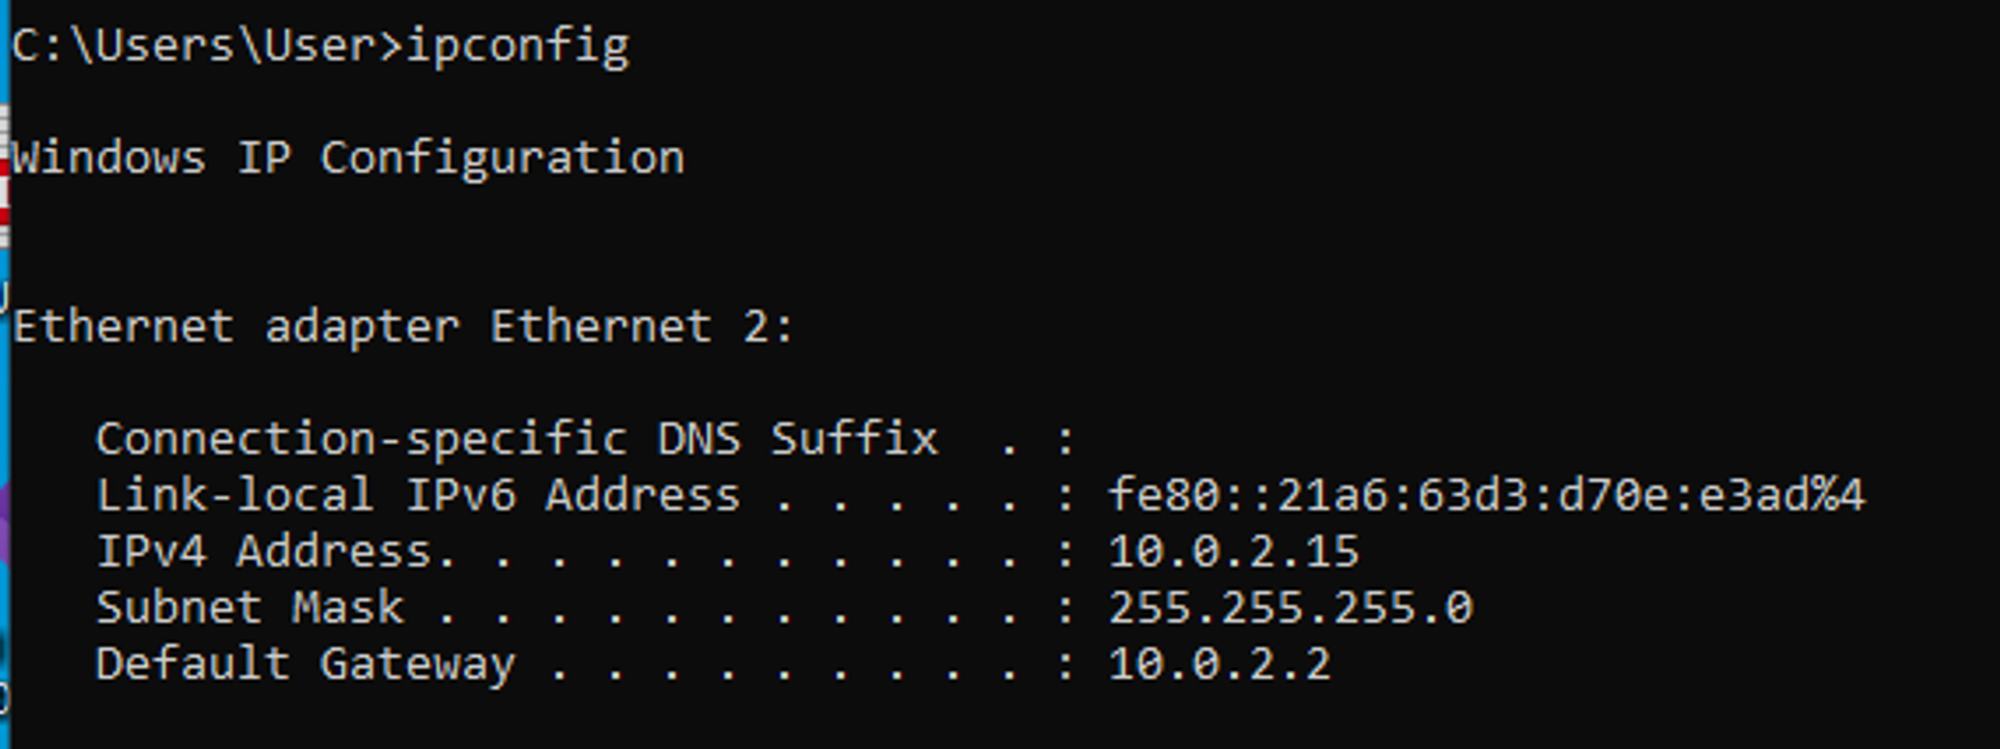
Initially, the two VMs are using the same IP address (10.0.2.15).

In order for the VMs to have different IP addresses, you will need to configure the network settings of each VM. Go to Settings → Network → Change NAT to Bridged Adapter.
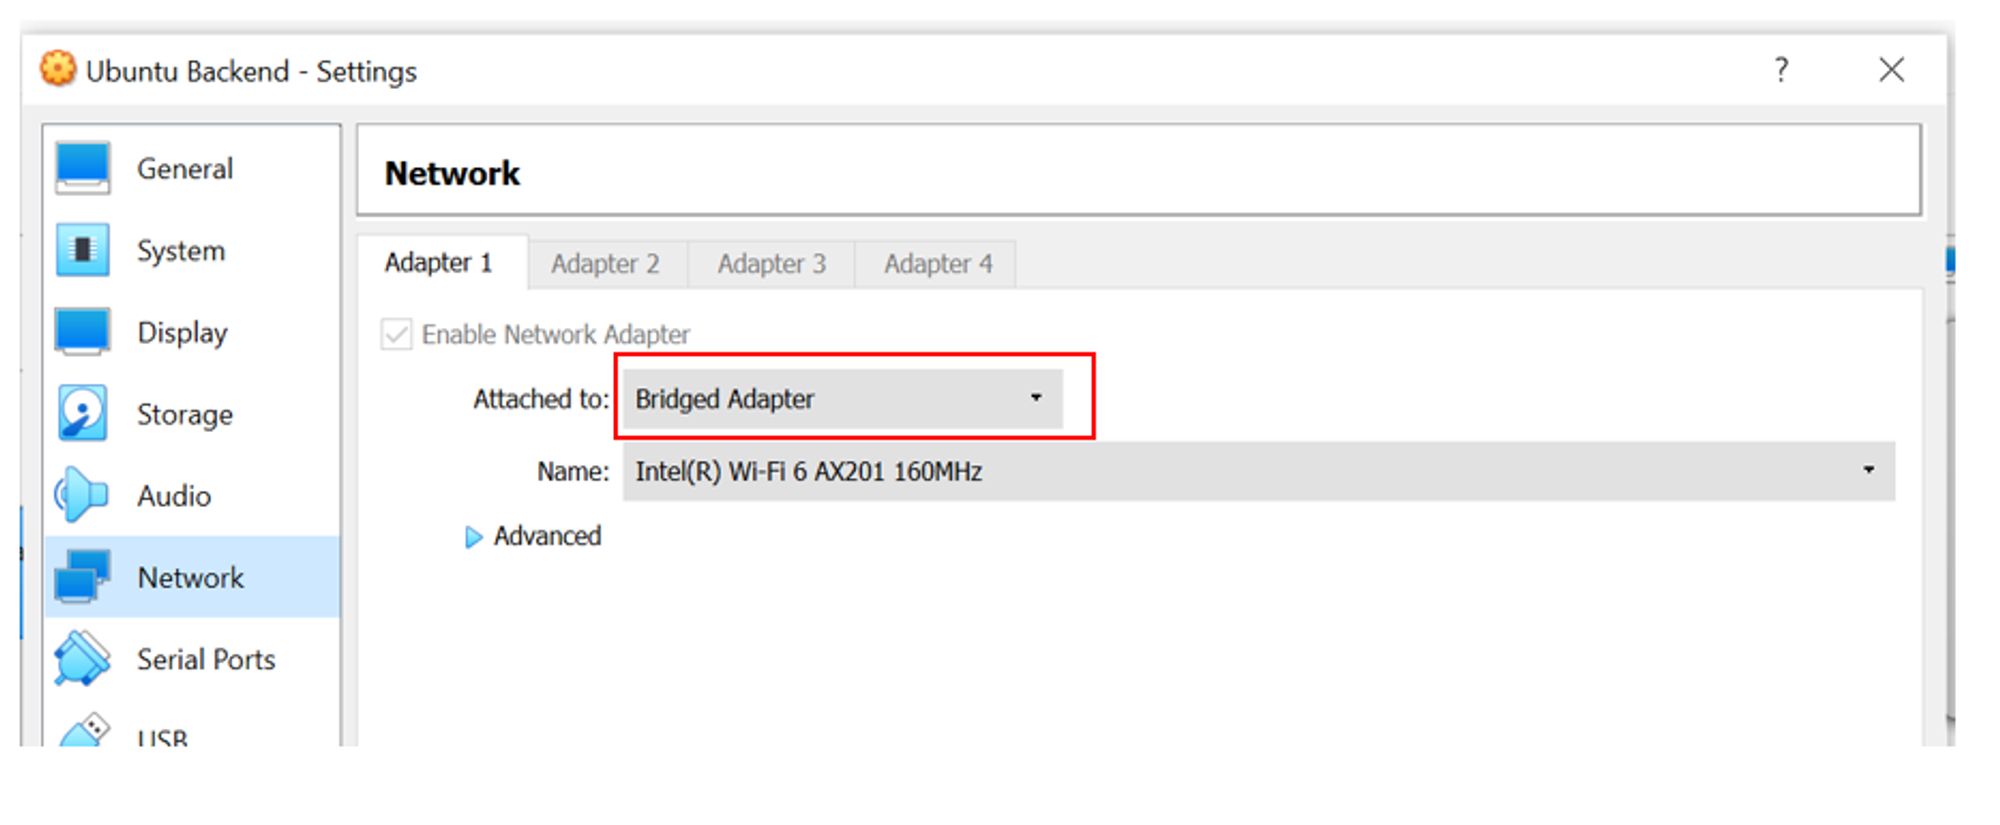
You should now have two separate IP addresses for the 2 VMs.
Ubuntu Server VM → 192.168.1.7
Windows VM → 192.168.1.9
Next, we will test if the two VMs can ping each other.
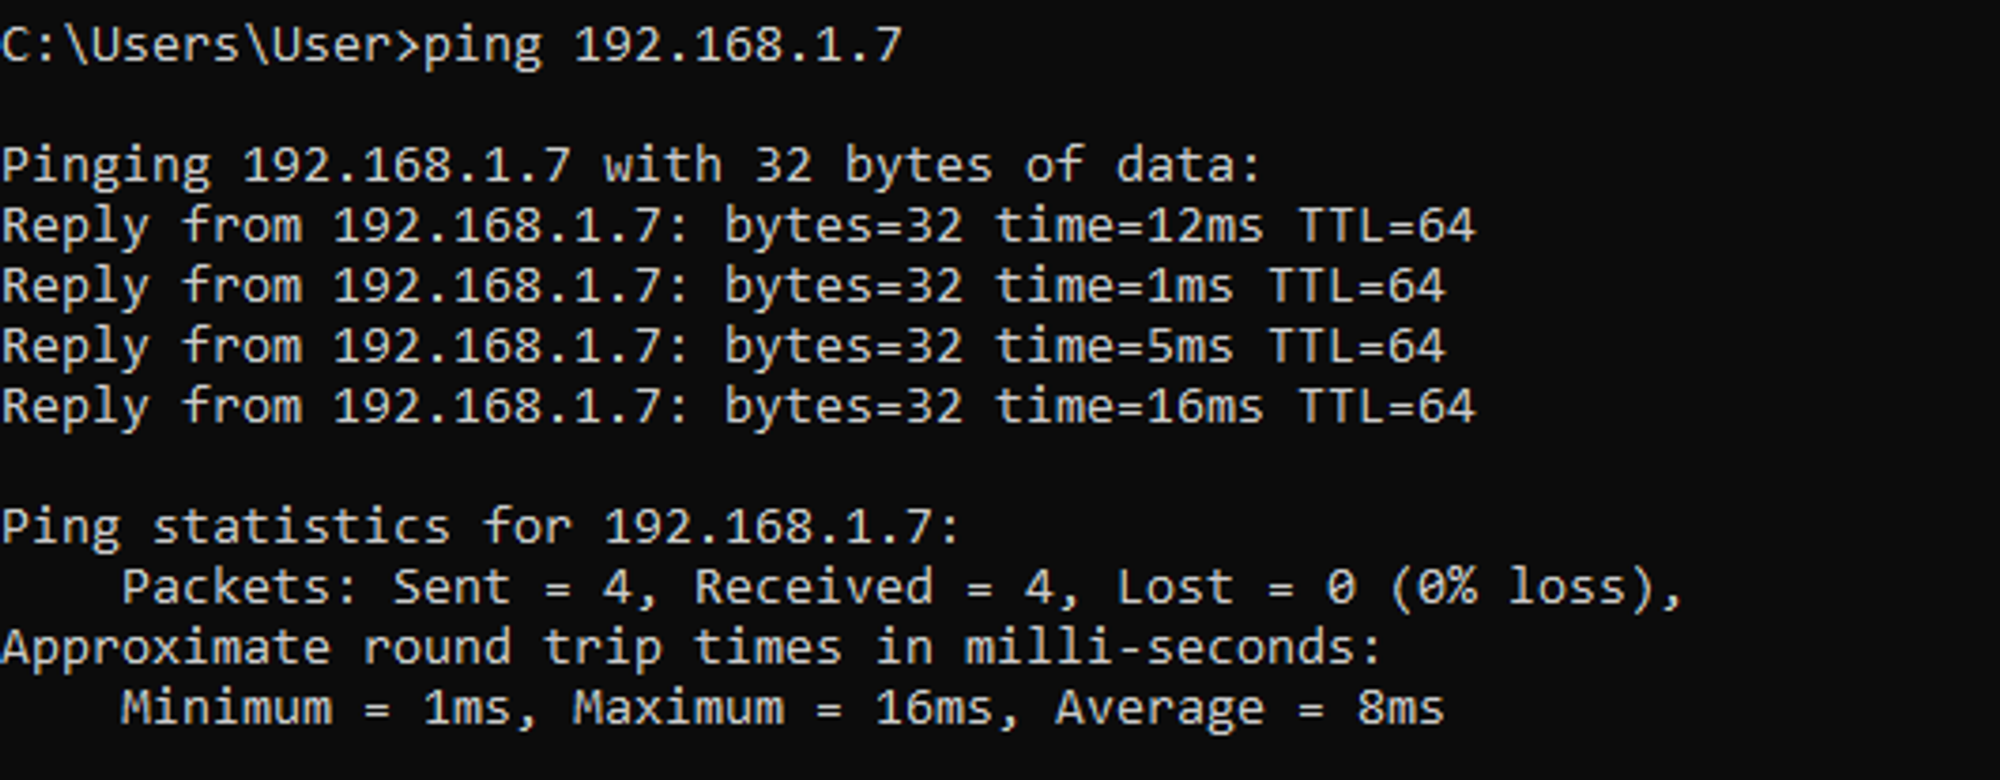
The Windows VM is able to ping to the Ubuntu Server VM:
However, I was unable to ping from the Ubuntu Server VM to the Windows VM:

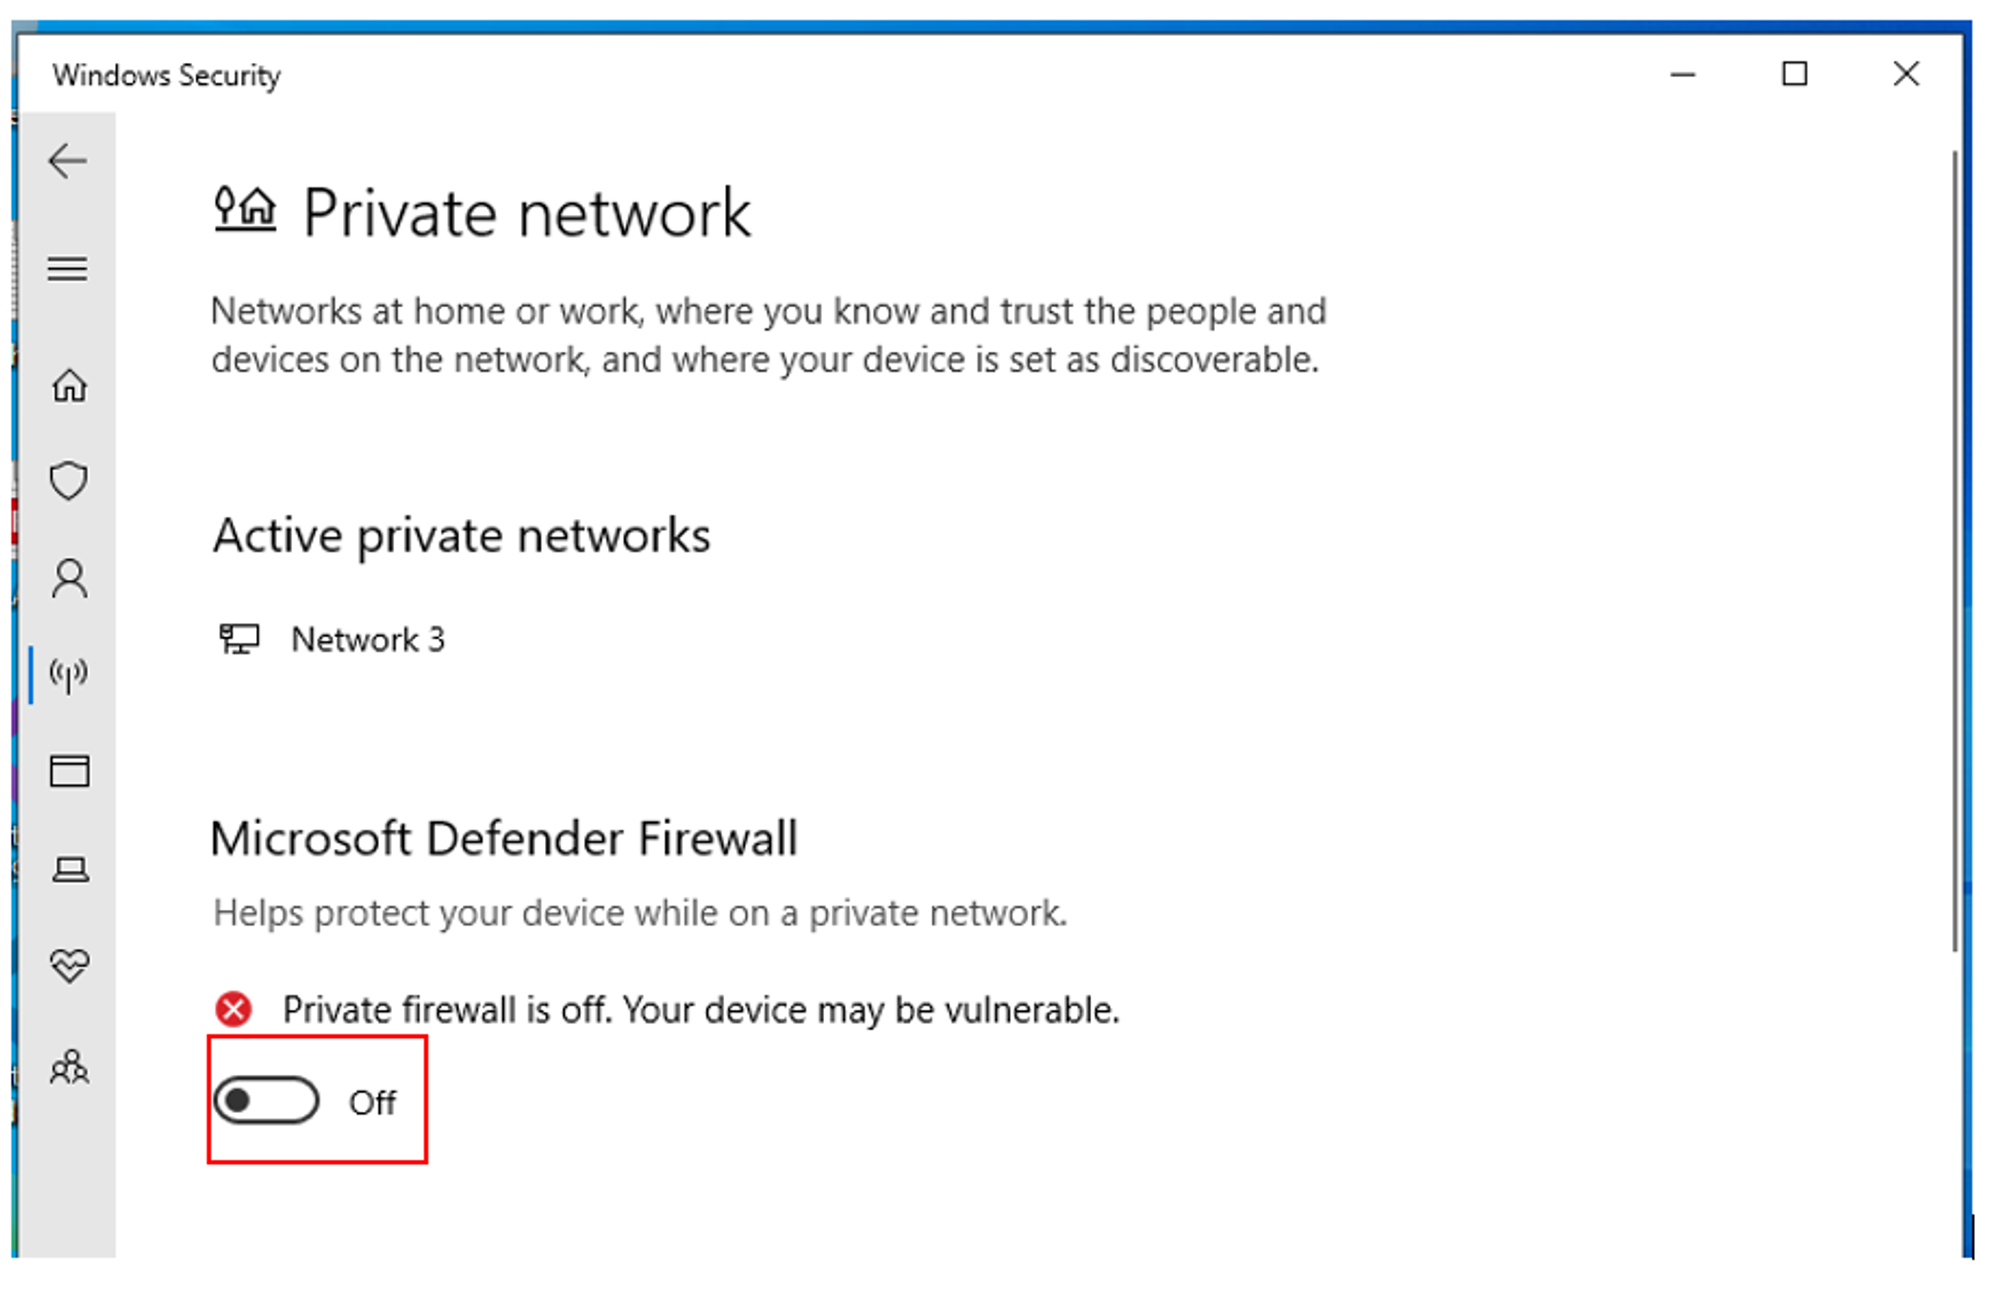
Solution: Turn off the Private Network firewall in the Windows VM as it is blocking the pings.
The Ubuntu Server VM should now be able to ping to the Windows VM.
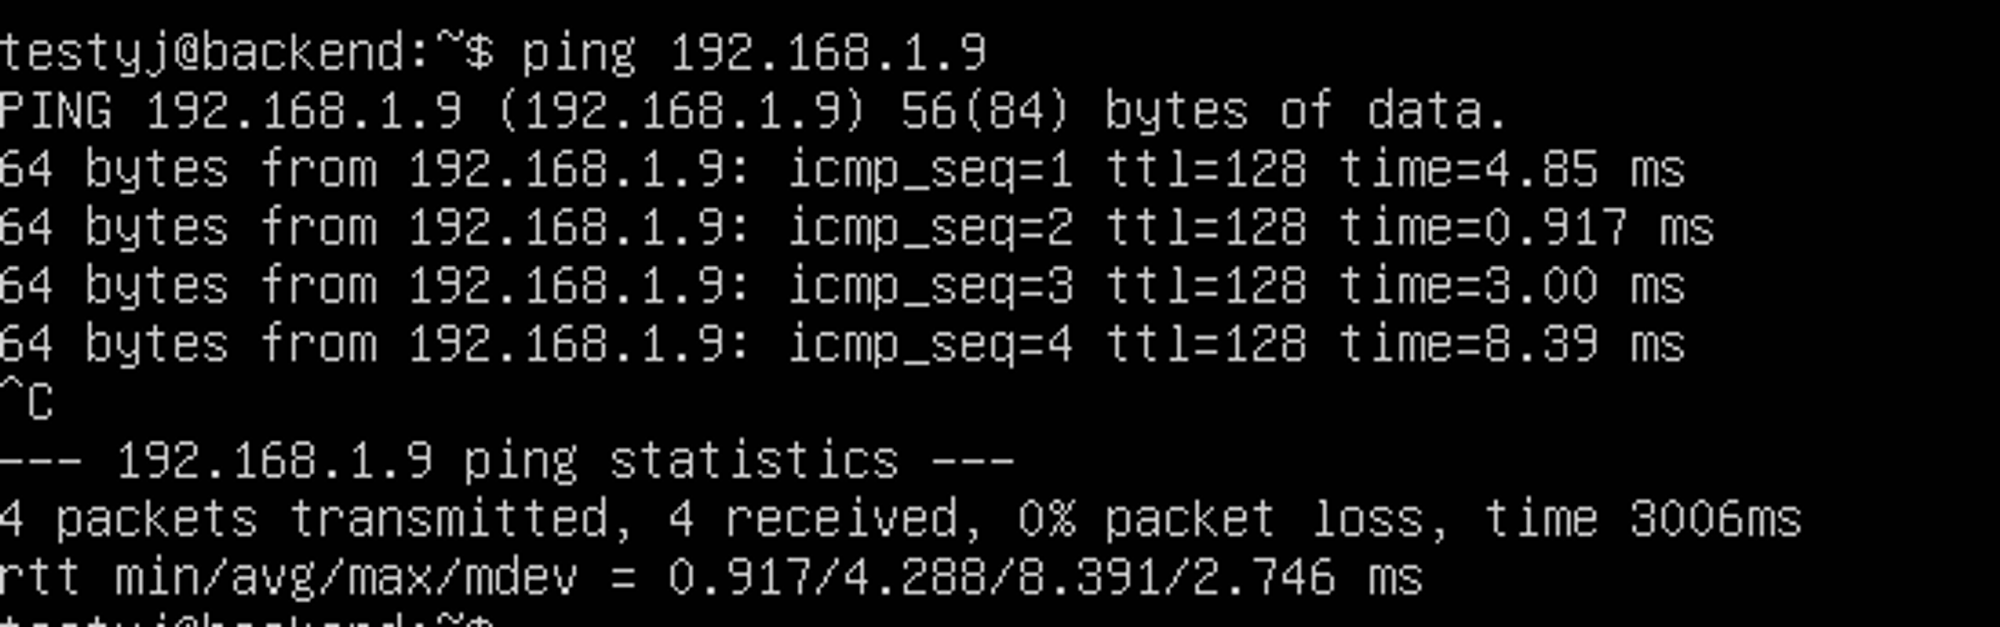
The two VMs are now able to communicate with each other!