How to create a Linux VM with Amazon EC2
Step 1: Create a new AWS account at https://portal.aws.amazon.com/billing/signup#/account.
Step 2: Login with the newly created AWS account.
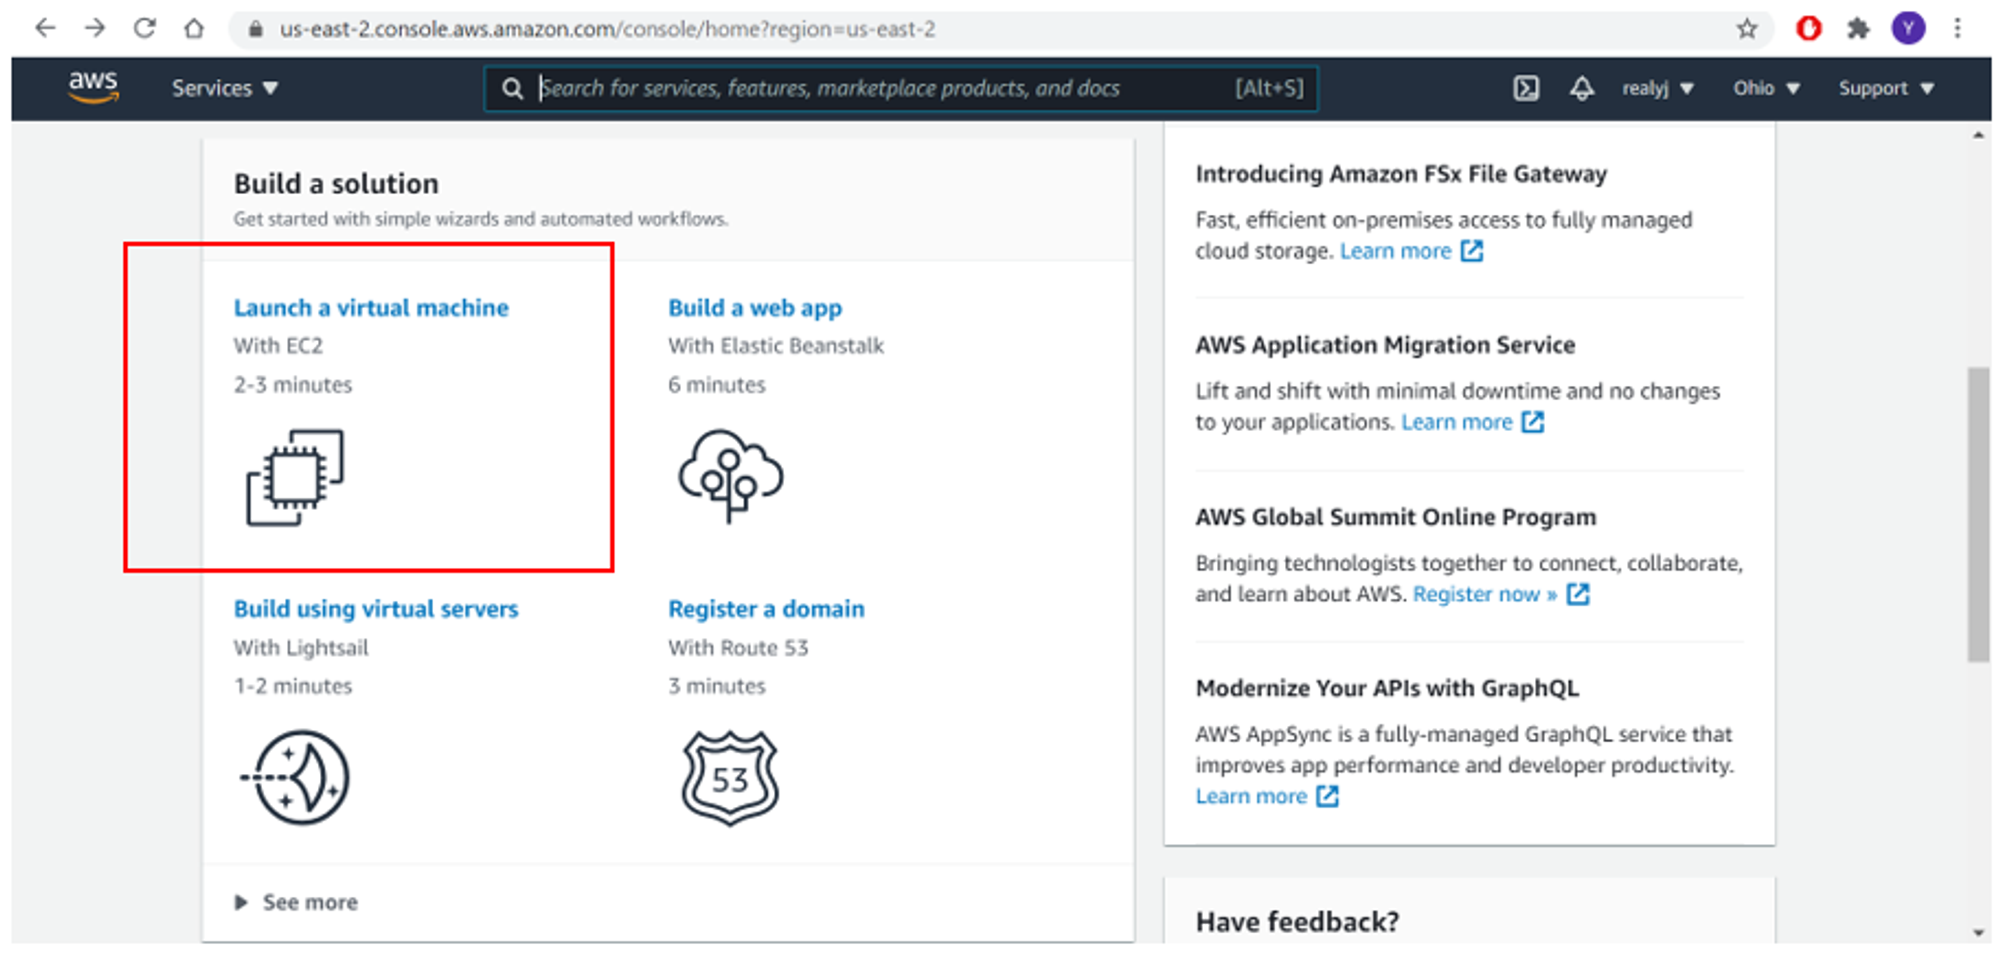
Step 3: From the AWS Management Console dashboard, select Launch a virtual machine.
Step 4: Select the HVM edition of the Amazon Linux 2 AMI. Notice that this configuration is marked Free tier eligible.

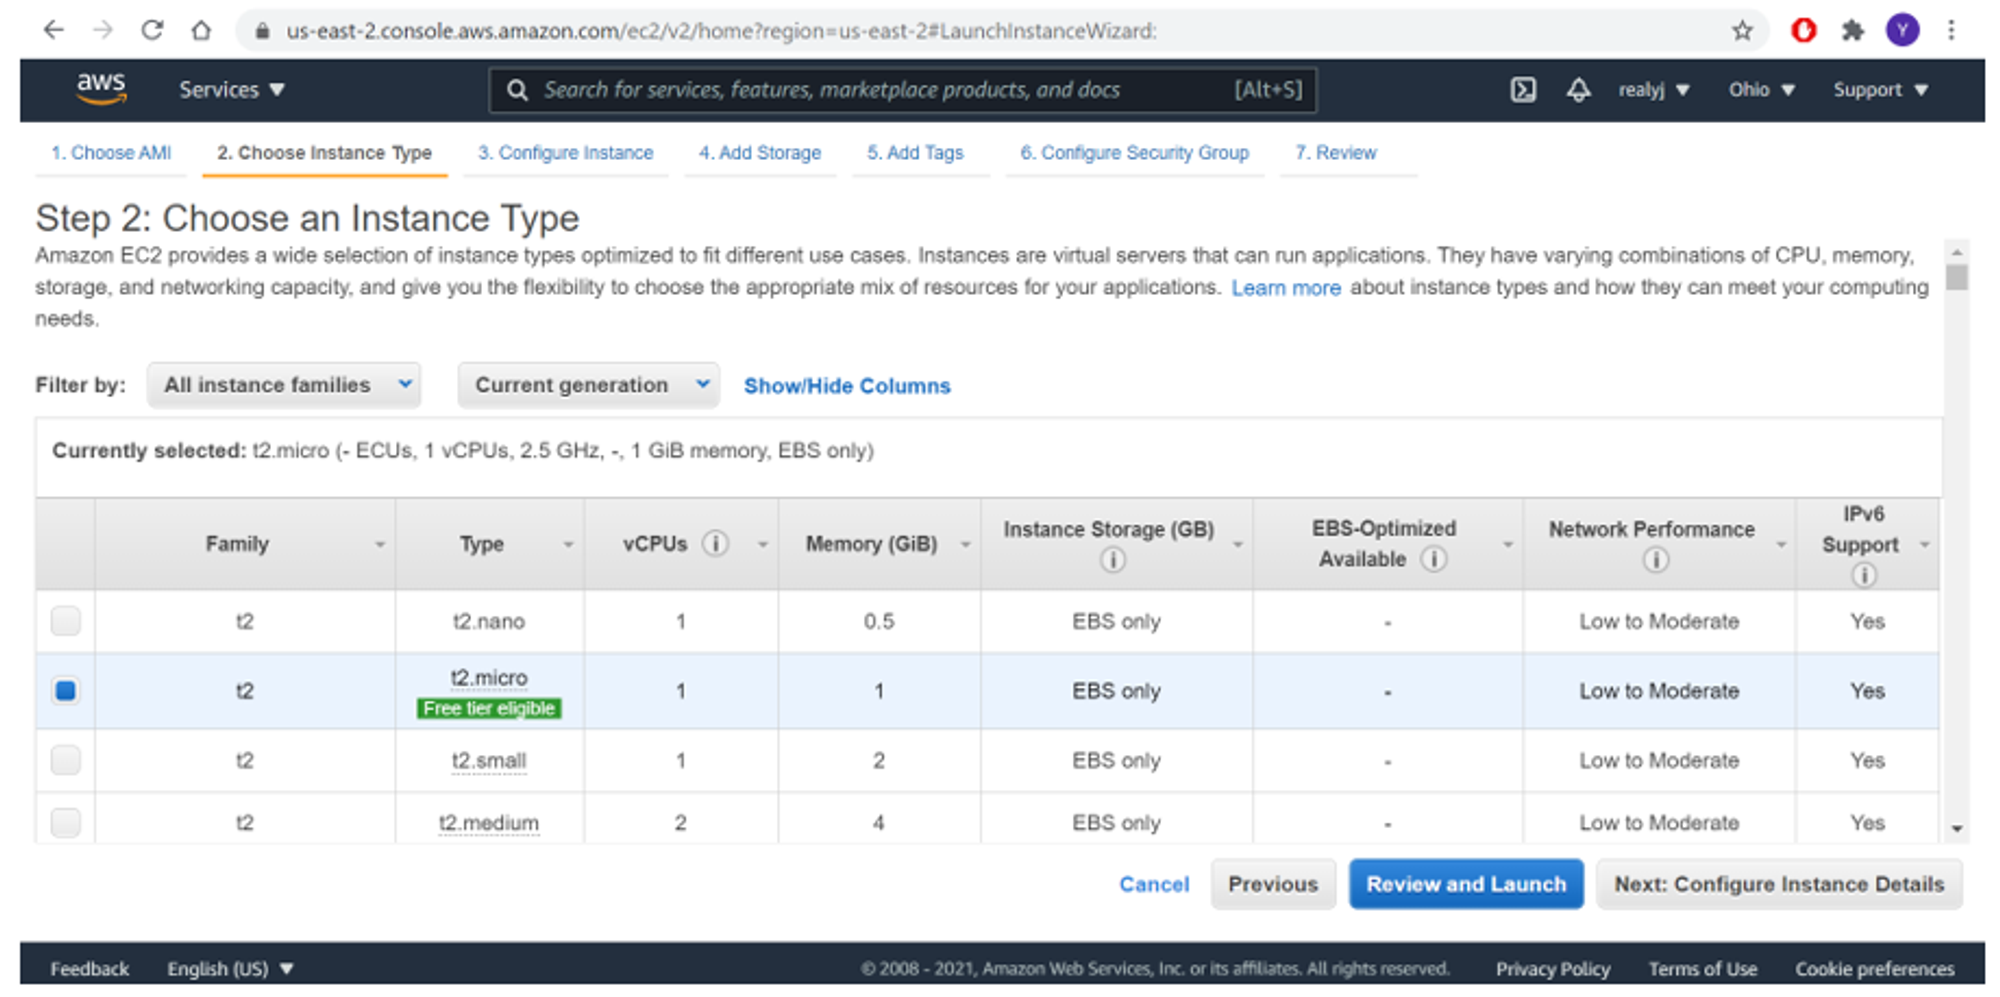
Step 5: On the Choose an Instance Type page, choose t.2micro as the hardware configuration of your instance and Review and Launch.
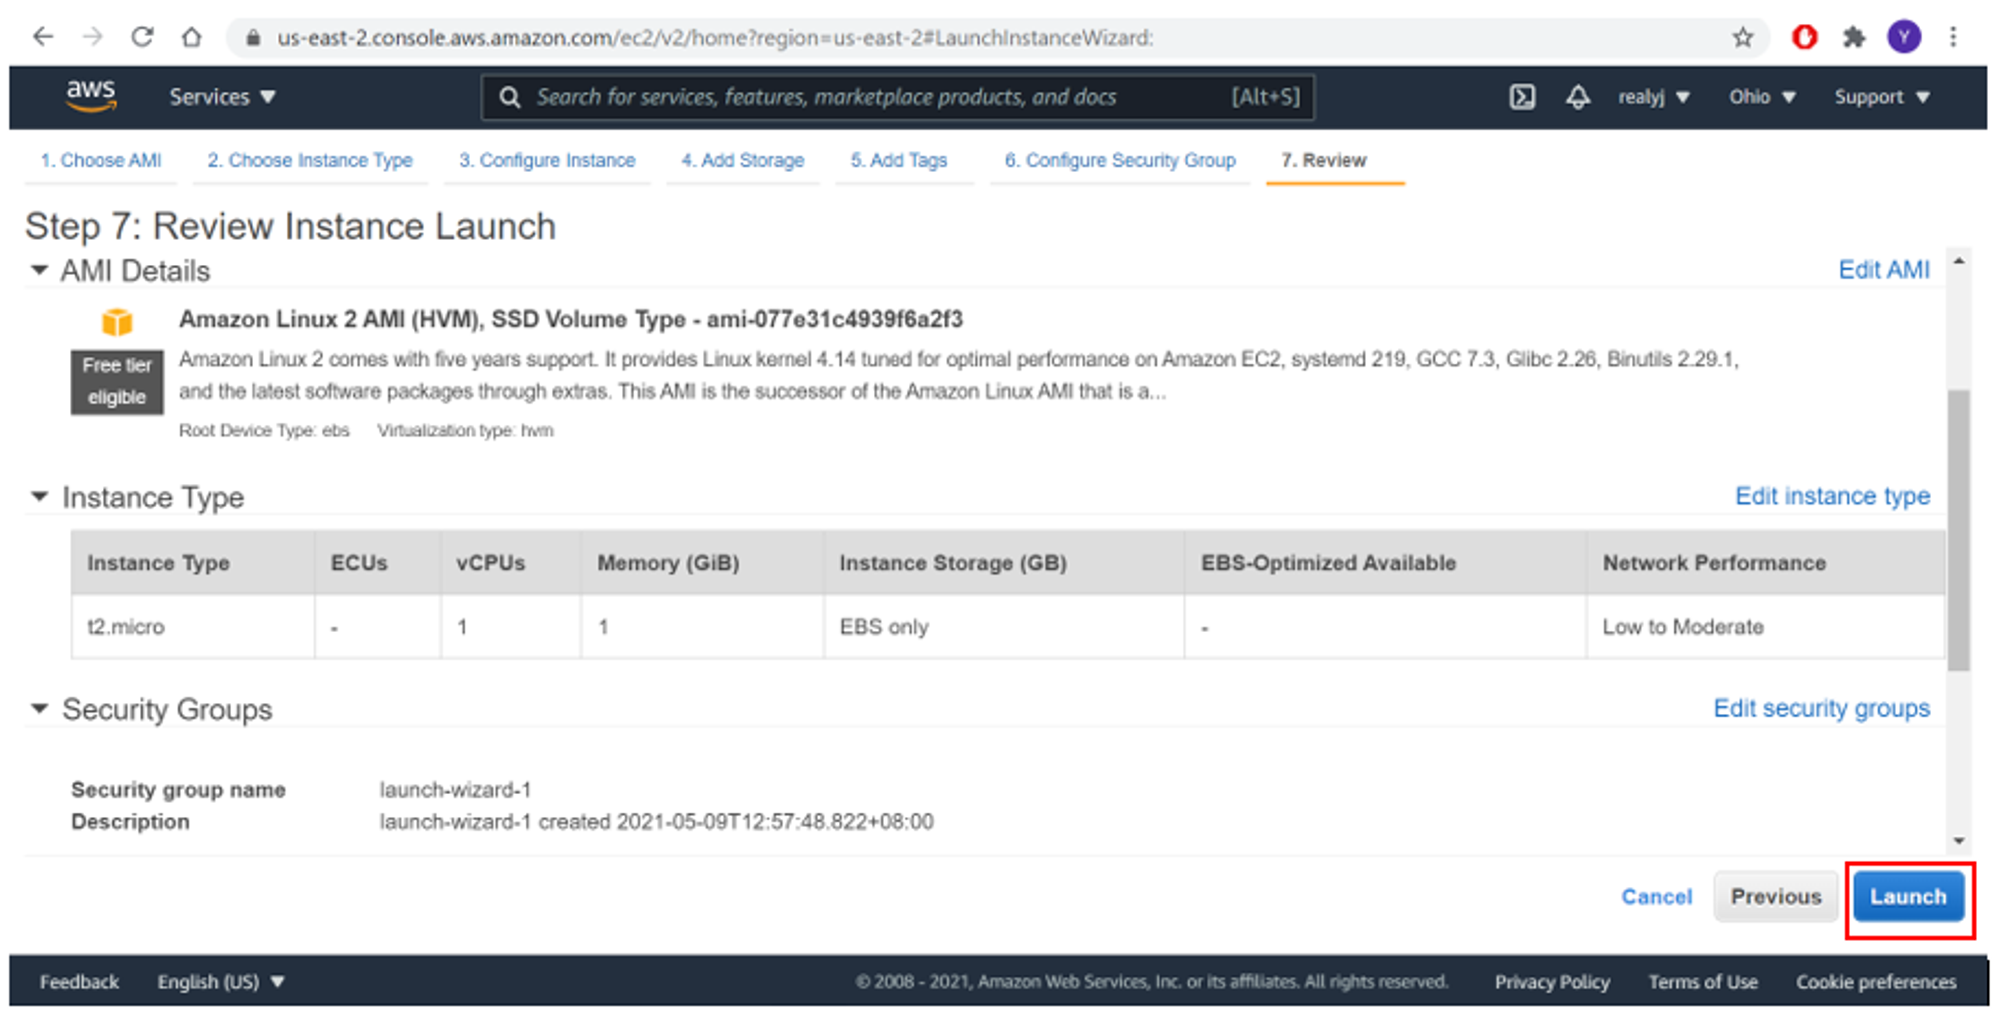
Step 6: On the Review Instance Launch page, choose Launch.
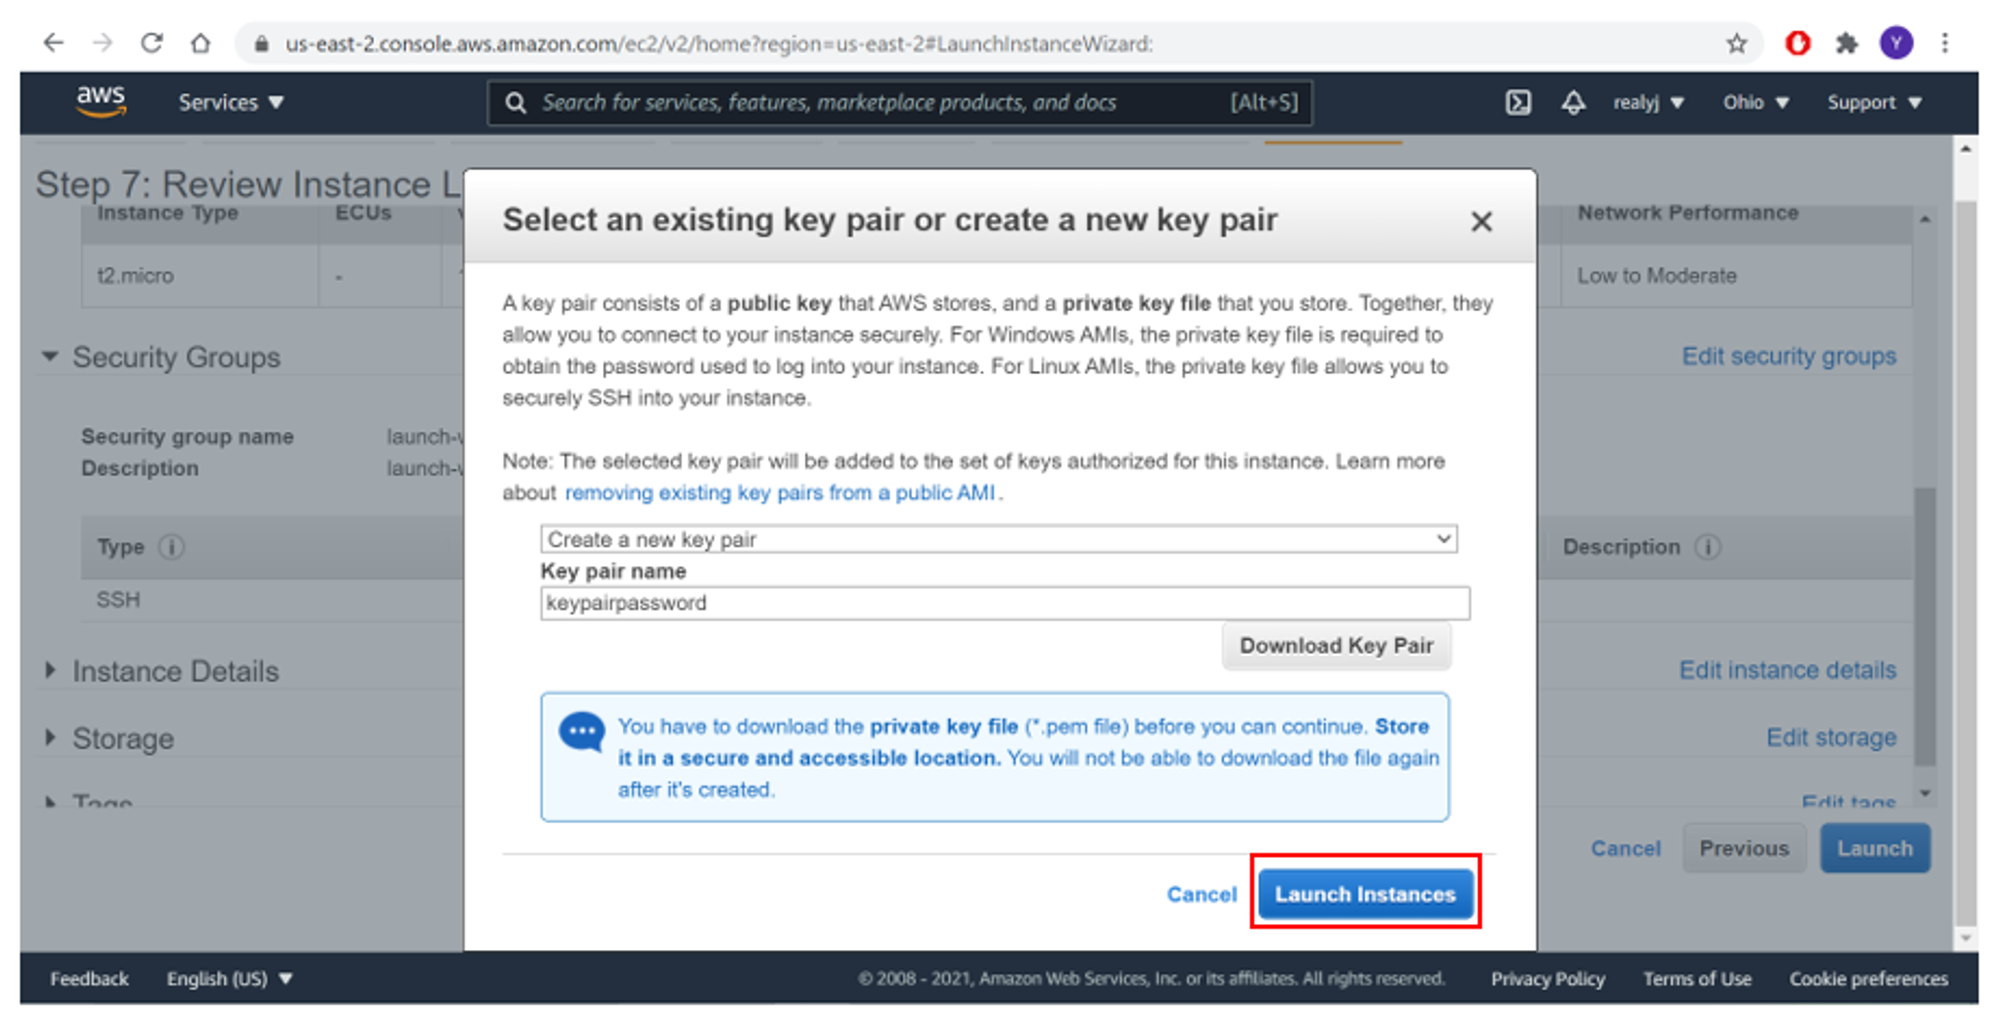
Step 7: In the Select an existing key pair or create a new key pair dialog box, choose Create a new key pair, enter a name for the key pair, and then choose Download Key Pair. When you are ready, select the acknowledgment check box, and then choose Launch Instances.
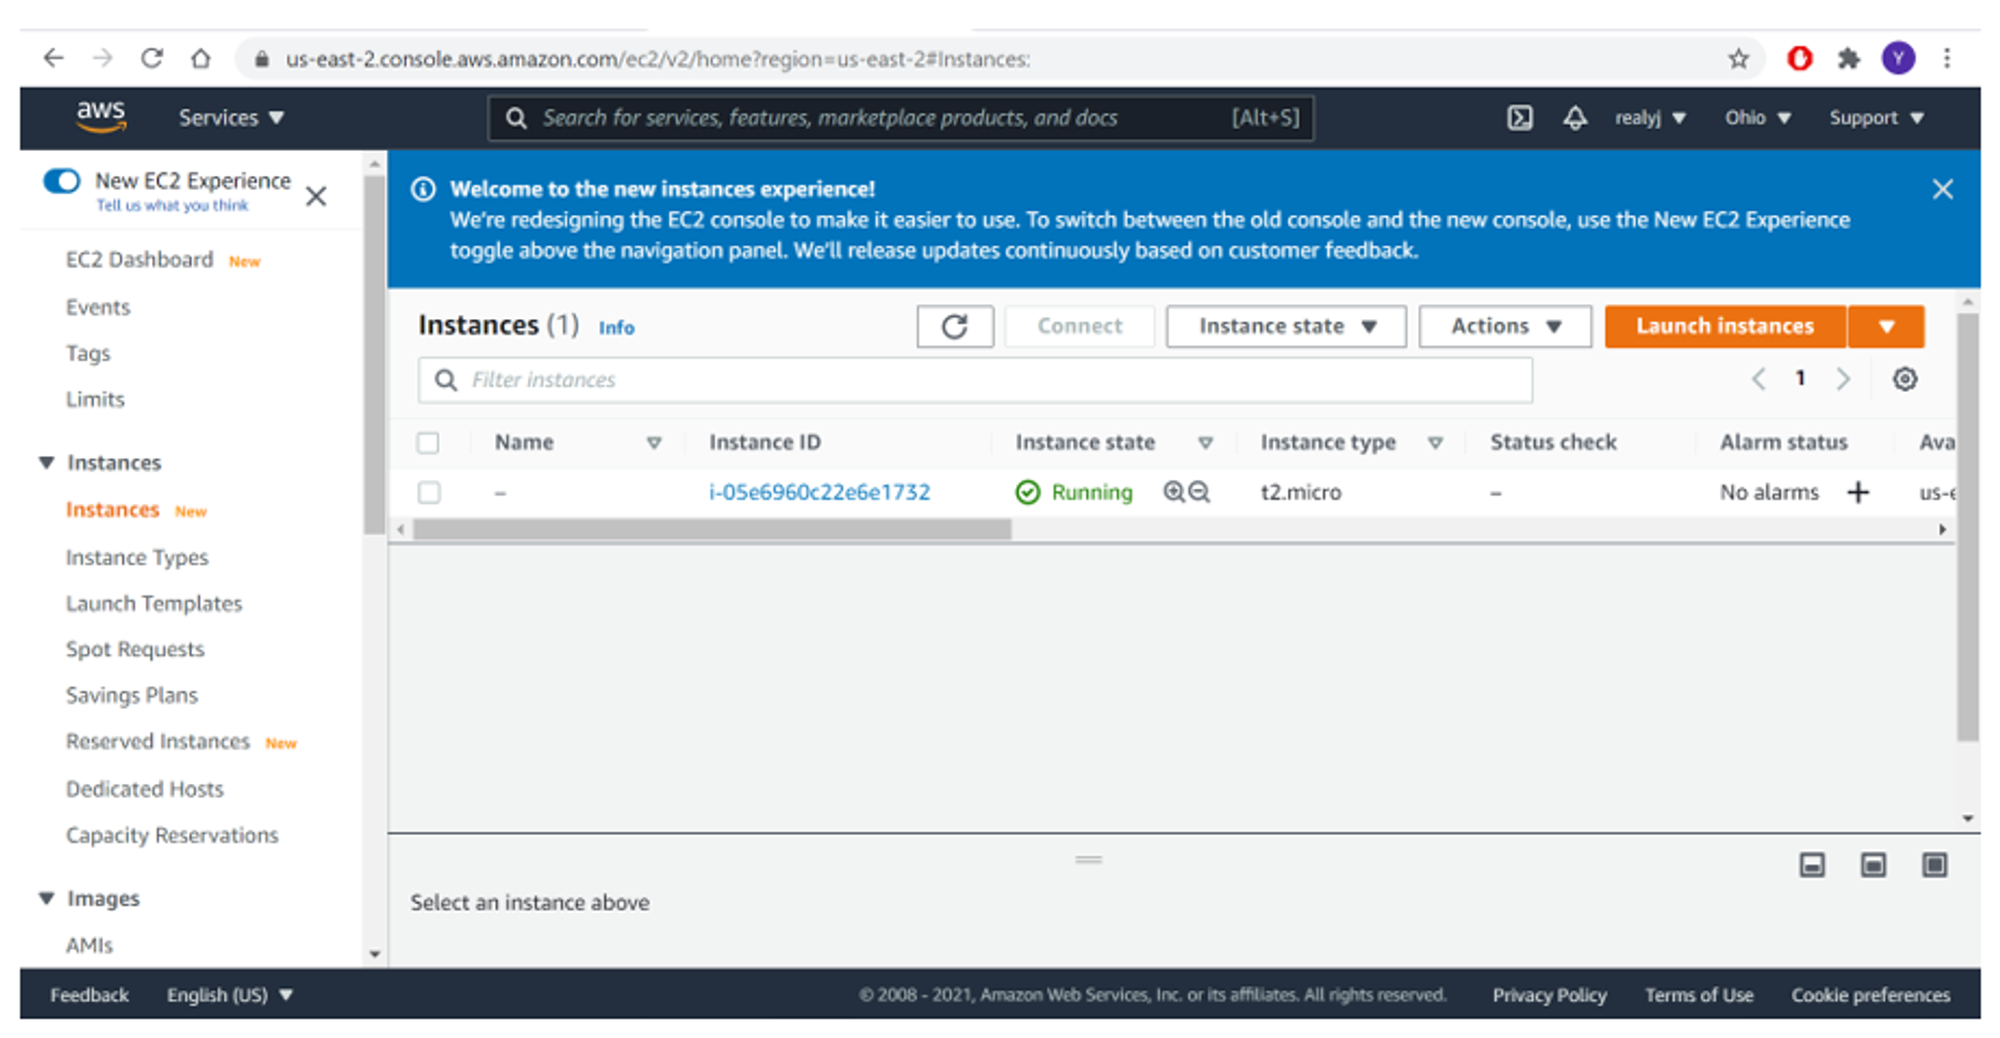
Step 8: A confirmation page lets you know that your instance is launching. Choose View Instances to close the confirmation page and return to the console. You will see that the instance is already running.
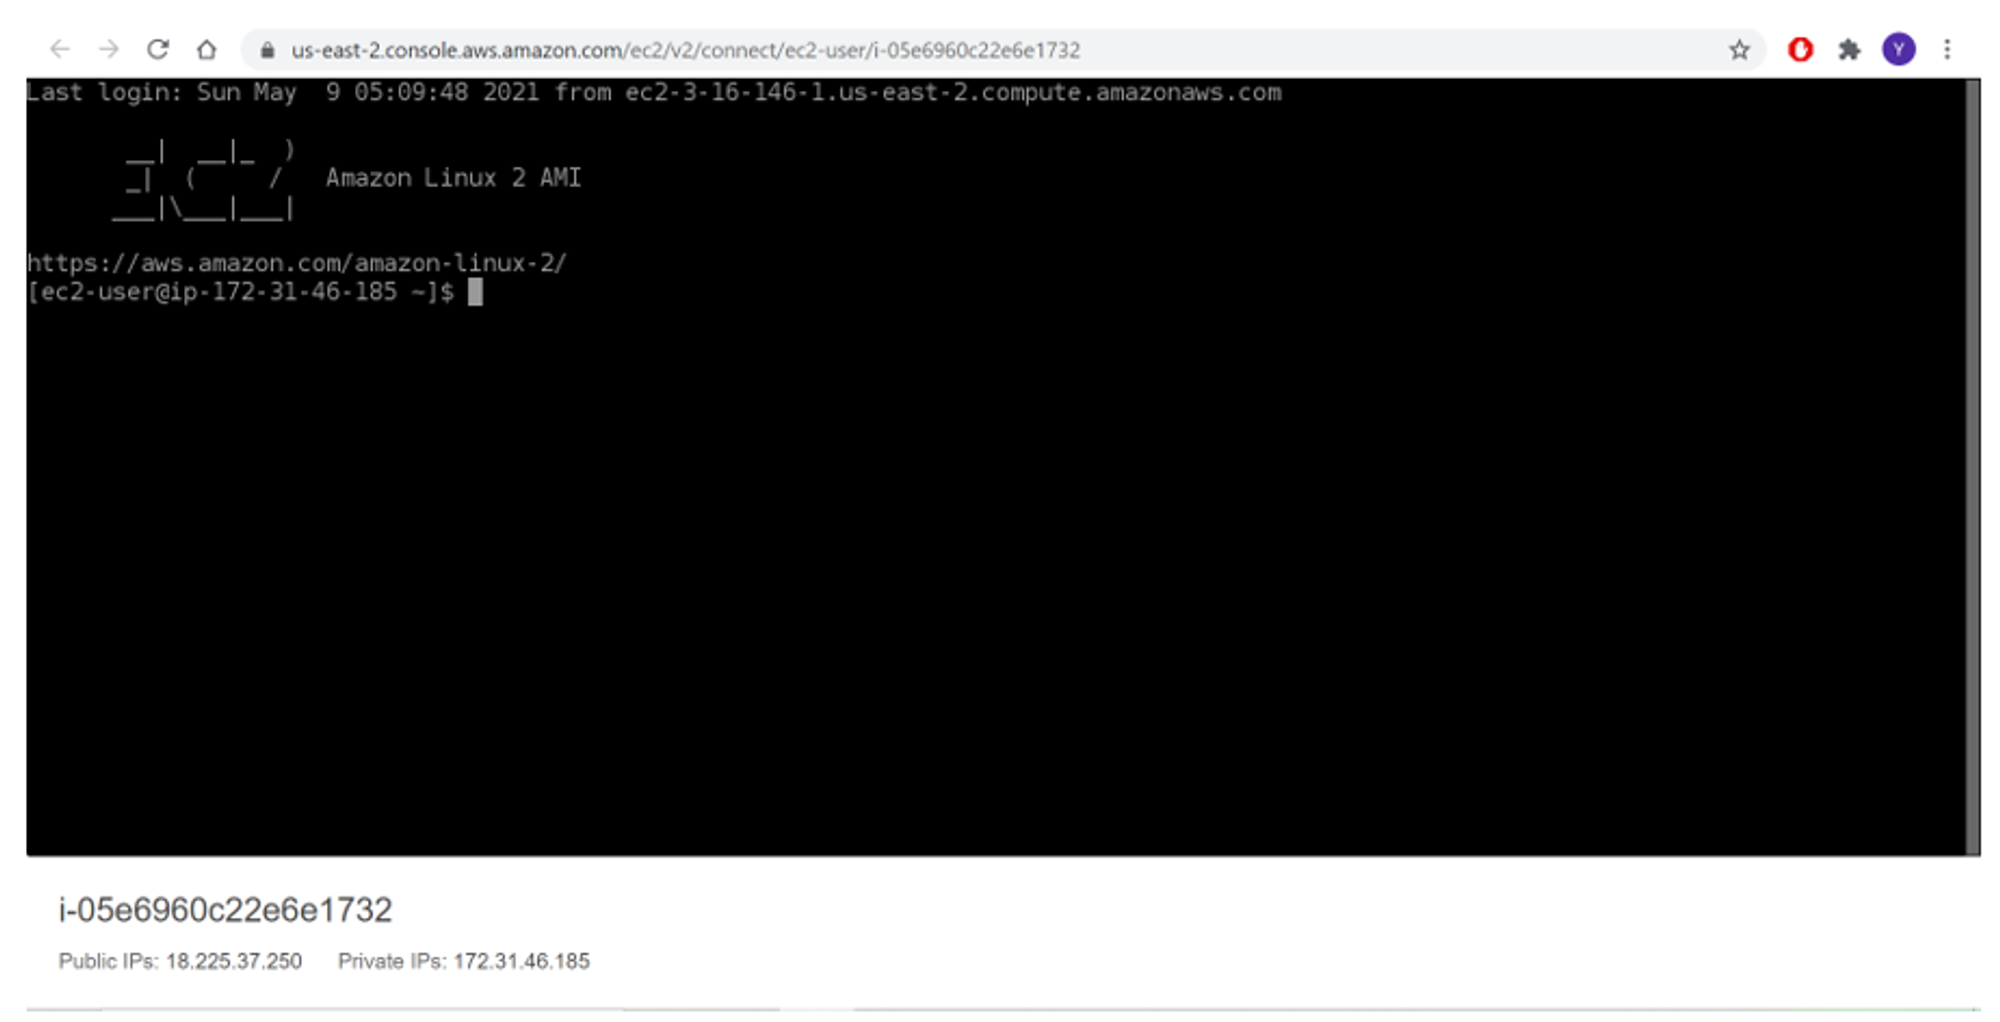
How to connect and use the Linux VM
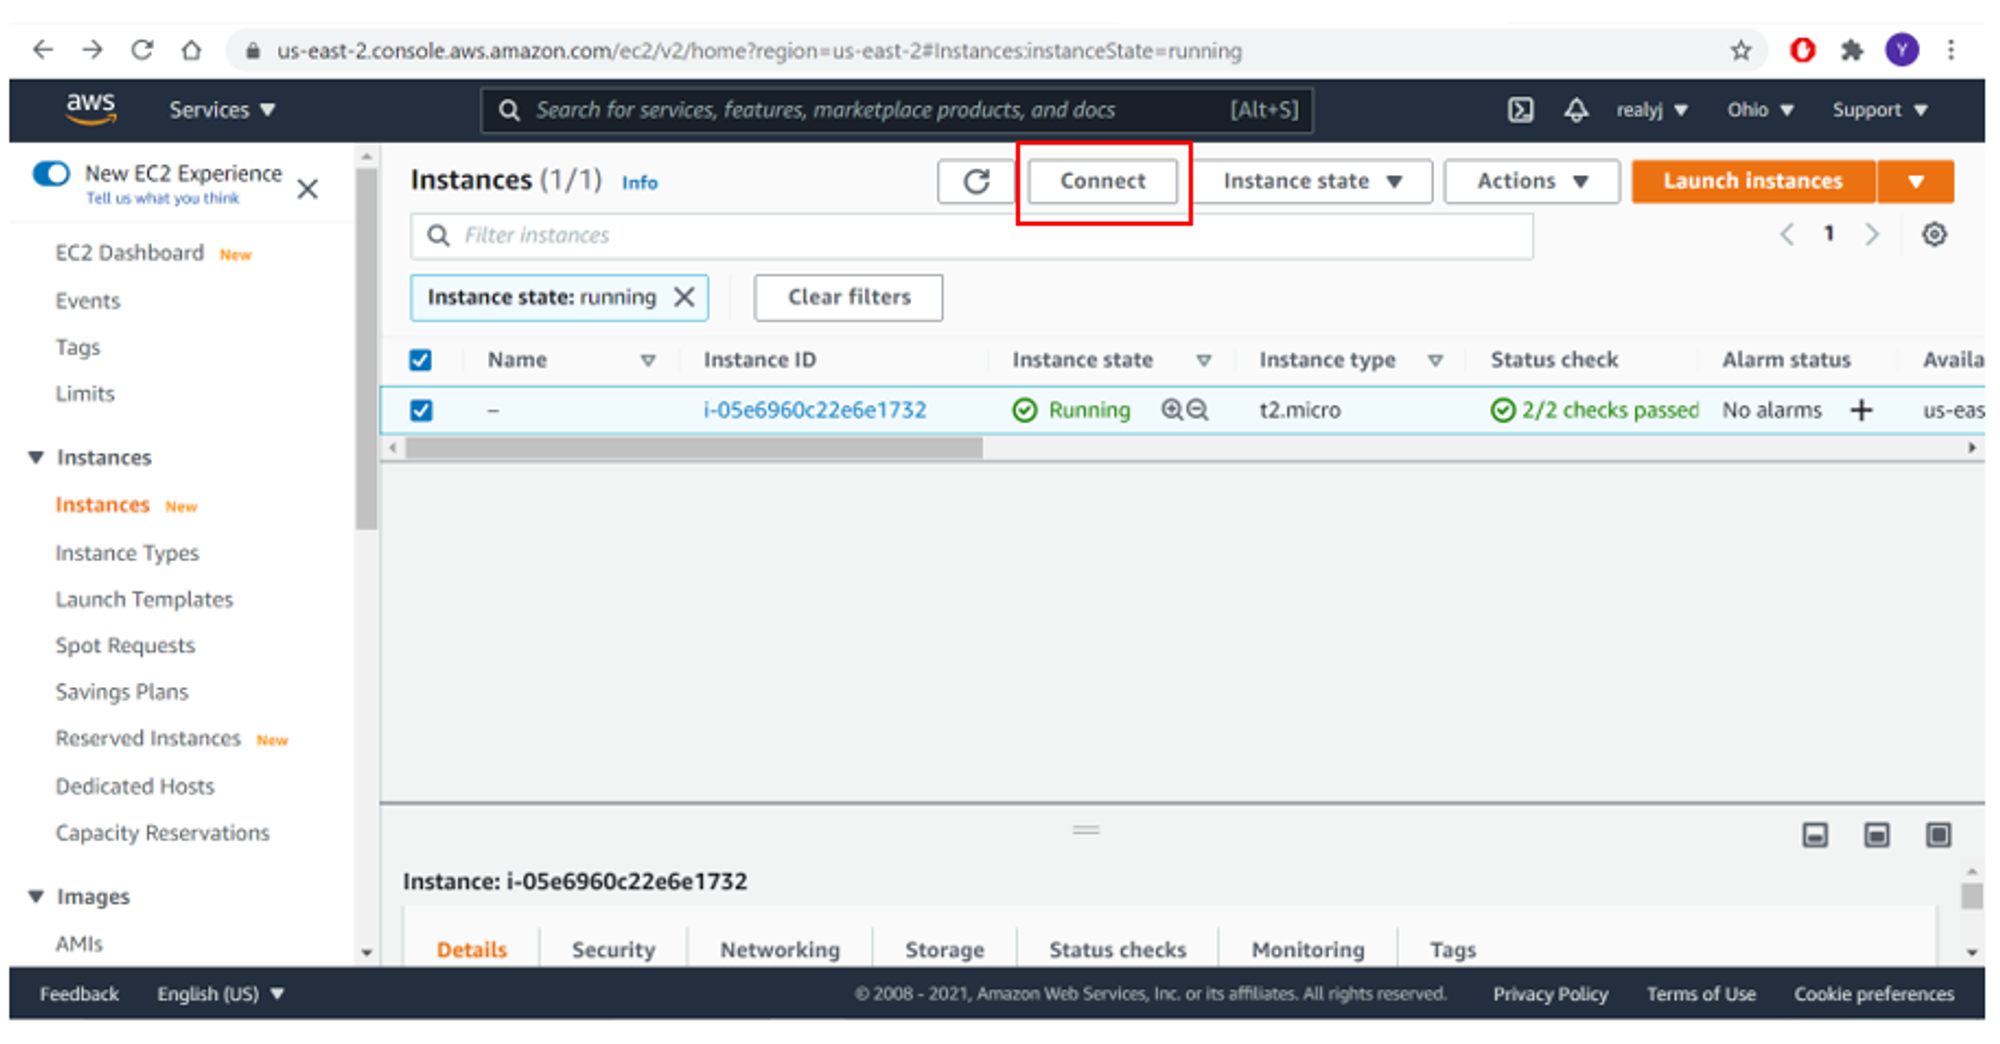
Step 1: Tick the checkbox of the Linux VM instance and select Connect.
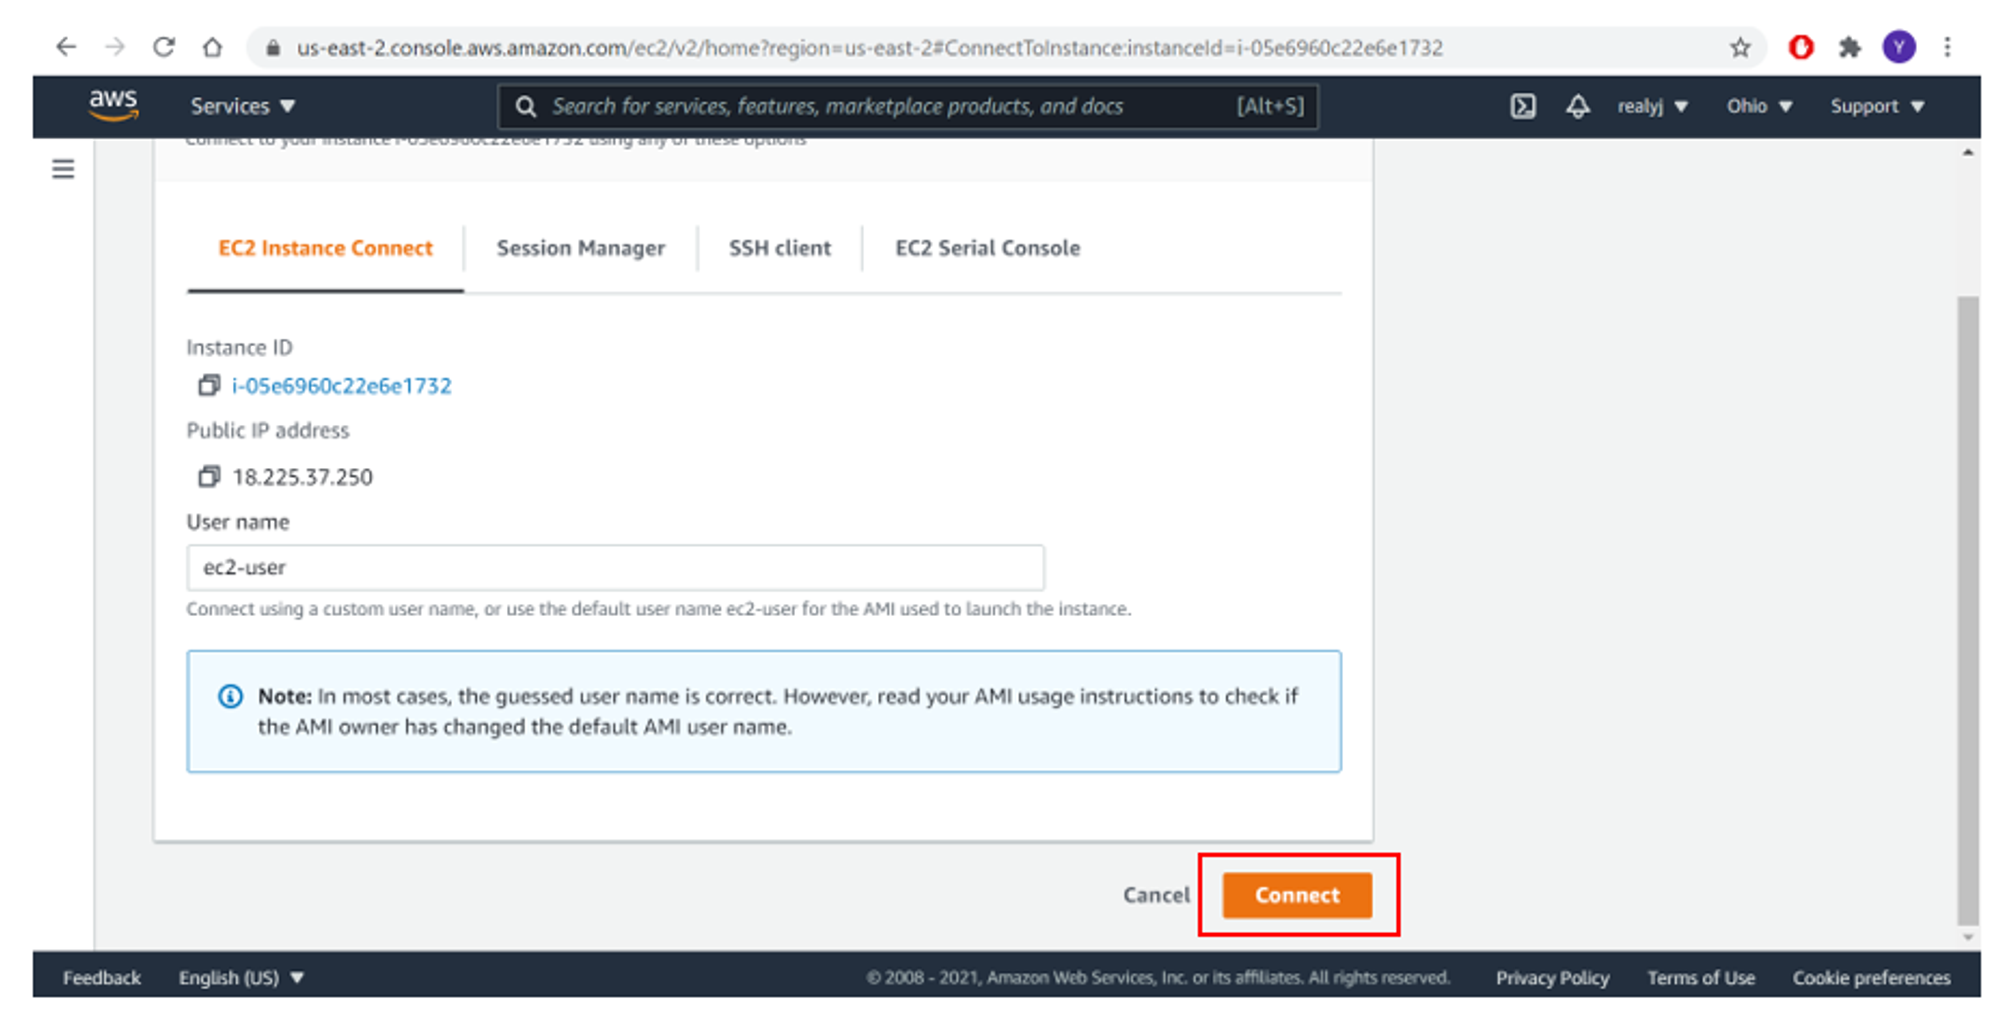
Step 2: Under EC2 Instance Connect, select Connect. Amazon EC2 Instance Connect provides a simple and secure way to connect to your instances using Secure Shell (SSH).
Step 3: A new tab will be created with the Linux VM’s command line running.